
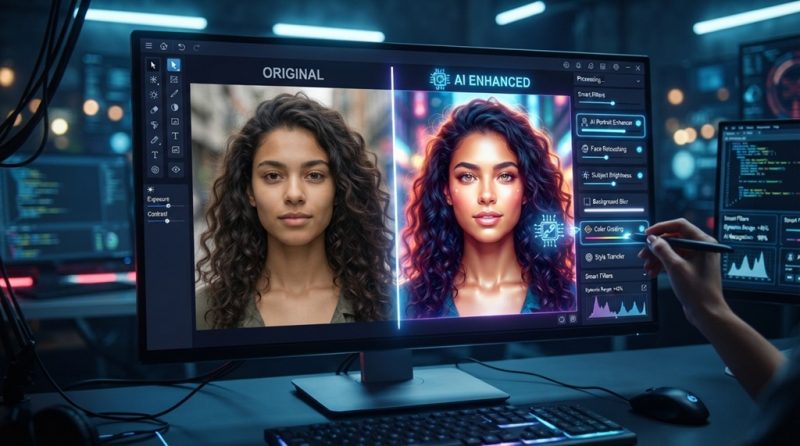
You can edit photos using AI tools in minutes, not hours. Modern AI editors remove backgrounds, fix lighting, and retouch skin with a single tap. You no longer need years of Photoshop training to get a polished result.
This shift matters for anyone in the Tech Trends community. AI-powered editing has moved from a niche feature to the default way most people touch up photos. Apps like Adobe Photoshop’s Generative Fill, Canva’s Magic Studio, and Luminar Neo now handle tasks that used to take a skilled editor 30 minutes or more.
In this guide, you’ll learn exactly how these tools work, which ones fit your needs, and how to get a professional-looking photo before your coffee gets cold.
What Makes AI Photo Editing Different From Traditional Editing
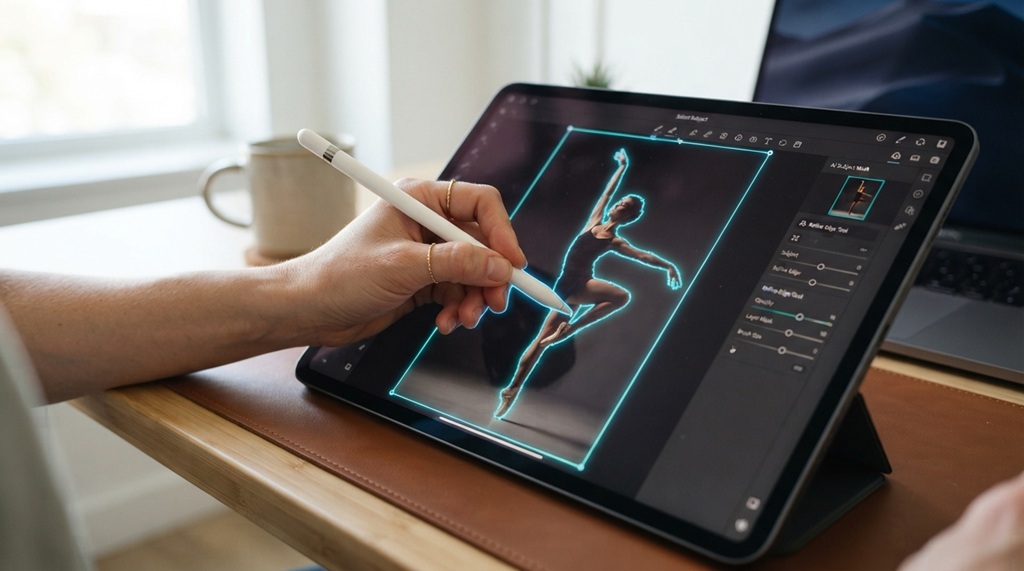
AI photo editing uses machine learning models to understand what’s in your photo, then makes smart adjustments automatically. Traditional editing requires you to manually select areas, adjust sliders, and blend layers by hand.
The Core Technology Behind AI Edits
Most AI editing tools rely on a technique called semantic segmentation. This lets the software identify separate parts of an image, such as a face, sky, or background object. Once it “sees” these elements, it can edit each one differently without you drawing a single selection box.
Generative AI models add another layer. Tools like Generative Fill can create new pixels that blend naturally with the rest of the photo. This means you can remove an object and the AI will fill the gap with a believable background, guessing what should be there based on the surrounding pixels.
Why This Saves So Much Time
Traditional retouching involves zooming in, adjusting curves, and manually cloning out blemishes. AI tools automate this entire process. According to industry experts, tasks that once took 20-40 minutes in traditional software can now take under two minutes with AI assistance.
This speed doesn’t mean lower quality. Many AI tools now produce results that are hard to tell apart from manual edits, especially for common tasks like background removal or color correction.
Top AI Photo Editing Tools for Instant Results
The right AI photo editor depends entirely on your specific workflow needs—whether you are looking to perform complex retouching, instantly remove backgrounds, or adjust lighting in seconds. Leading platforms like Adobe Firefly, Canva, and Luminar Neo leverage advanced machine learning to handle tedious editing tasks in a fraction of the time required by traditional software. Once you have streamlined your visual assets, you can seamlessly scale your content pipeline by use ChatGPT for business growth and smarter marketing to automate compelling copywriting and campaign strategy alongside your newly edited visuals.
For Quick Background Removal: Remove.bg and Canva
Remove.bg specializes in one job: stripping backgrounds out of photos instantly. You upload an image, and the tool detects the subject and removes everything else within seconds.
Canva’s Magic Studio does the same thing, but bundles it with dozens of other AI features. If you already use Canva for design work, its background remover saves you from switching apps.
For Full Photo Retouching: Adobe Photoshop and Luminar Neo
Photoshop’s AI features, including Generative Fill and Neural Filters, handle complex edits like object removal, sky replacement, and portrait retouching. This works well if you want AI assistance without leaving a professional-grade editor.
Luminar Neo takes a simpler approach. Its AI-powered presets adjust skies, skin, and lighting with one click, making it a strong choice for people who want fast results without a steep learning curve.
For Mobile Editing on the Go: Snapseed and Facetune
Snapseed offers free AI-assisted tools directly on your phone, including healing brushes and automatic tone adjustments. It’s ideal for quick edits before you post to social media.
Facetune focuses specifically on portrait editing. Its AI smooths skin, reshapes features subtly, and whitens teeth, all within a mobile-friendly interface built for speed.
Step-by-Step: How to Edit a Photo Using AI in Under 5 Minutes
Editing a photo with AI follows a simple pattern across most tools, regardless of which app you choose. Here’s the general workflow you can apply almost anywhere.
- Upload your photo. Most AI tools accept JPEG, PNG, or HEIC files directly from your device or cloud storage.
- Let the AI scan the image. The tool automatically detects faces, objects, and backgrounds. This usually takes just a few seconds.
- Choose your edit type. Select background removal, retouching, color correction, or object removal from the tool’s menu.
- Adjust the AI’s suggestion. Most tools let you fine-tune the automatic edit using a slider or brush, so you stay in control of the final look.
- Export in your preferred format. Download the finished photo in high resolution, ready for social media, print, or your portfolio.
This process rarely takes more than five minutes once you’re familiar with your chosen app. The first edit might take longer as you explore the interface, but repeat edits become almost instant.
Common Mistakes to Avoid When Using AI Photo Editors
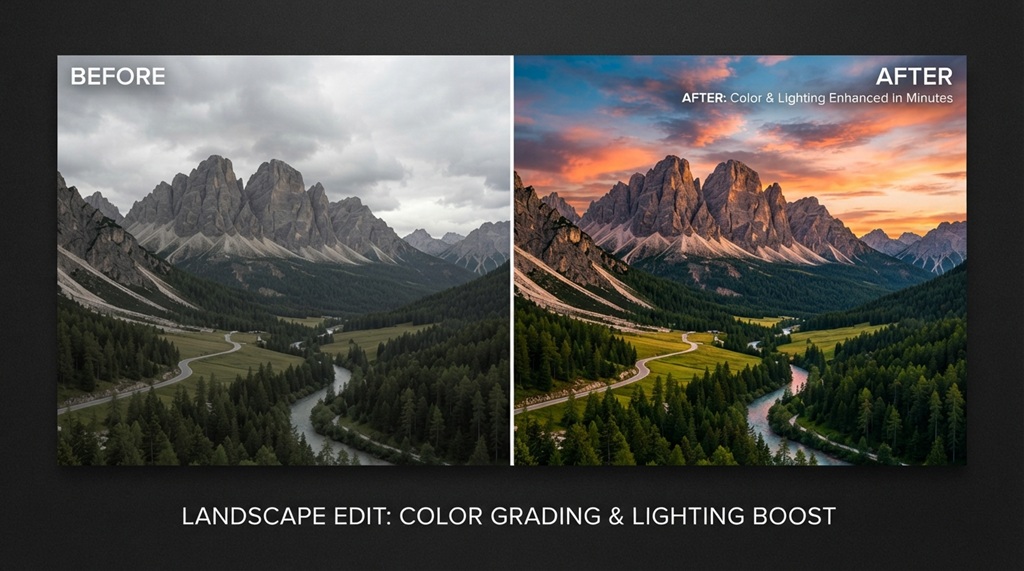
Even with AI doing the heavy lifting, a few mistakes can ruin an otherwise good edit. Knowing these pitfalls ahead of time helps you avoid a redo.
Over-Relying on Automatic Settings
AI tools are smart, but they aren’t perfect. Automatic skin smoothing can sometimes erase natural texture, making a face look artificial. Always review the AI’s suggestion before exporting, and dial back any setting that looks overdone.
Ignoring Lighting Consistency
When you use generative fill to add or remove objects, check that the lighting matches the rest of the photo. AI sometimes creates a new element with a shadow angle that doesn’t match the original light source, which breaks the illusion.
Skipping the Manual Touch-Up Pass
Many people export their photo the moment the AI finishes its pass. A better habit is to do one quick manual review, zooming into edges around removed objects or replaced backgrounds. This catches small errors the AI misses, like a stray pixel or a blurry edge.
A Genuinely Useful Tip Most Guides Skip: Batch Editing With AI Presets
Most articles on this topic stop at editing a single photo. If you regularly edit photos for a blog, online store, or social media account, batch editing is where AI tools save the most time.
Tools like Luminar Neo and Adobe Lightroom let you create an AI-based preset from one edited photo, then apply that exact same look to dozens of images at once. Instead of retouching each product photo individually, you edit one, save the settings, and apply them across your entire batch in a single click.
This approach works especially well for e-commerce sellers and content creators managing large photo libraries. It turns a job that once took an entire afternoon into a five-minute task, and it keeps your visual style consistent across every photo you publish.
Frequently Asked Questions
Is AI photo editing free?
Many tools offer free versions with basic features, including Snapseed and Remove.bg’s limited free tier. Advanced features like unlimited exports or higher resolution downloads usually require a paid subscription.
Do AI photo editors work on old or low-quality photos?
Yes, most AI tools include enhancement features that sharpen blurry images and reduce noise in old photos. Results vary depending on how degraded the original image is, but even scanned photos often see noticeable improvement.
Can AI editing replace a professional photographer?
AI editing improves an existing photo, but it can’t fix poor composition or bad lighting during the actual shoot. It works best as a finishing tool, not a replacement for solid photography fundamentals.
Which AI tool is best for beginners?
Canva’s Magic Studio and Snapseed are both beginner-friendly, since they use simple menus and one-tap presets. Photoshop offers more control but has a steeper learning curve for first-time users.
Will AI-edited photos look fake or overdone?
They can, if you rely too heavily on automatic settings. Reviewing and adjusting the AI’s suggestions before exporting helps you keep the photo looking natural rather than artificial.
Conclusion
AI photo editing tools have made professional-looking results accessible to everyone, regardless of skill level. Whether you need a quick background swap or a full portrait retouch, there’s an AI tool built for that exact task.
Start with one tool that matches your main need, whether that’s Remove.bg for backgrounds or Snapseed for mobile touch-ups. Once you’re comfortable, explore batch editing to save even more time on repeat projects. In just a few minutes, you can turn an average photo into one that looks ready for any platform.

Leave a Reply