
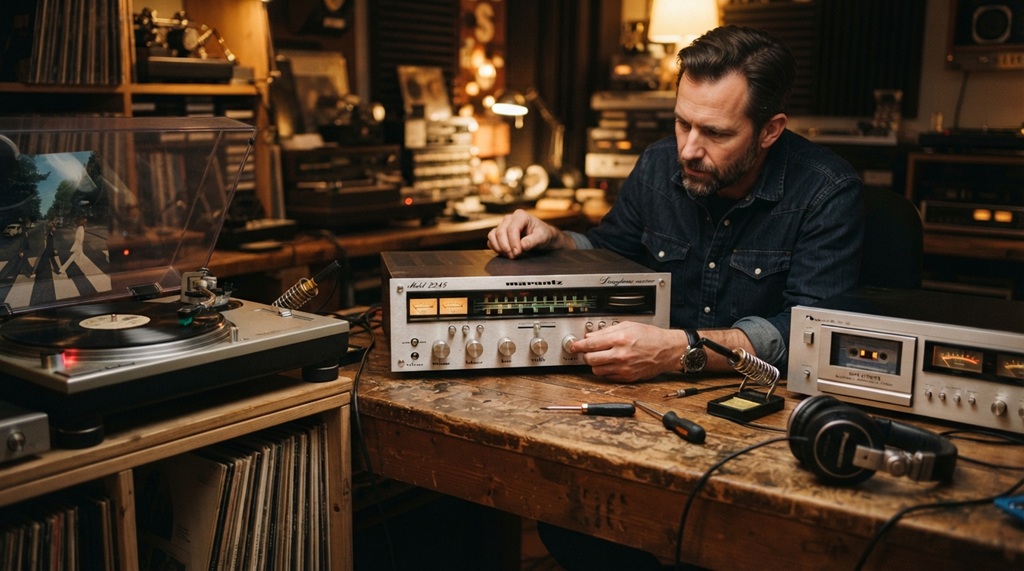
Setting up retro tech gear and vintage audio players starts with three basics: check the condition, match the right cables, and test the power source safely. Skip any of these steps, and you risk damaging equipment that often can’t be replaced. This guide walks you through the full setup process, from unboxing an old turntable to connecting a 1980s boombox to modern speakers.
Retro tech has moved past nostalgia. Record players, cassette decks, and vintage receivers now sit next to smart speakers in a lot of living rooms. But these machines don’t work like plug-and-play modern devices. They need a bit of care, a few adapters, and some patience.
This article breaks the setup process into clear steps. You’ll also find answers to common questions collectors and beginners ask when they bring old gear back to life.
Inspect Your Gear Before You Plug It In
Never power on old electronics without checking them first. Old capacitors, worn belts, and corroded wires can cause real damage, and in rare cases, a fire hazard.
Start with these checks:
- Look for visible damage. Cracked casings, frayed cords, or rust near the power input are red flags.
- Smell the unit. A burnt or musty smell often means internal damage or mold.
- Check the belt (for turntables and cassette players). A stretched or gummy belt won’t turn properly and needs replacing before use.
- Inspect the power cord. Old rubber insulation can crack over time. Replace any cord that looks brittle.
If the device sat in storage for years, don’t rush to turn it on. A quick inspection now can save you from an expensive repair later.
Match the Right Power Setup
Vintage electronics often use different voltage standards than today’s devices, so check this before anything else. Many machines built before the 1990s were designed for specific regional voltages, and using the wrong one can fry the internal circuitry instantly.
Check the Voltage Rating
Look at the back or bottom of the unit for a label listing voltage (110V, 220V, or dual-voltage). If you bought the item from another country, confirm it matches your local power grid before plugging it in.
Use a Variac for Old or Untested Units
A variac is a variable transformer that lets you slowly bring old electronics up to full power. Collectors use this method for gear that hasn’t run in years. It reduces the risk of a sudden power surge damaging old components. This step matters most for tube amplifiers and receivers, where capacitors can fail if powered up too quickly after long storage.
Essential Turntable Calibration: Preserving Vinyl and Precision Sound
Setting up a vintage turntable requires meticulous alignment to safeguard both your delicate stylus and precious vinyl collection from irreversible wear. Adjusting the tracking force, anti-skate controls, and cartridge angle ensures the needle rides smoothly within the record groove, delivering pristine analog audio fidelity without premature surface degradation. Once your classic hardware is properly calibrated, bridging the gap between classic gear and modern sound systems becomes seamless a transition easier to master when you know evaluate new gadget tech before you buy to complement your timeless setup.
Level the Turntable
Place the turntable on a flat, stable surface. Use a small level tool or a phone app to confirm it sits evenly. An unlevel turntable causes uneven tracking, which wears down records faster.
Set Tracking Force and Anti-Skate
Every tonearm has a recommended tracking force, usually listed in the manual or on the cartridge itself. Set this using the counterweight at the back of the tonearm. Then adjust the anti-skate dial to match, which keeps the needle centered in the groove instead of pulling to one side.
Connect to a Phono Preamp
Turntables output a much weaker signal than other audio sources. Without a phono preamp, the sound will be quiet and thin. Many modern receivers include a built-in phono input, but if yours doesn’t, you’ll need a standalone preamp between the turntable and your speakers or amplifier.
Connect Vintage Audio Players to Modern Speakers
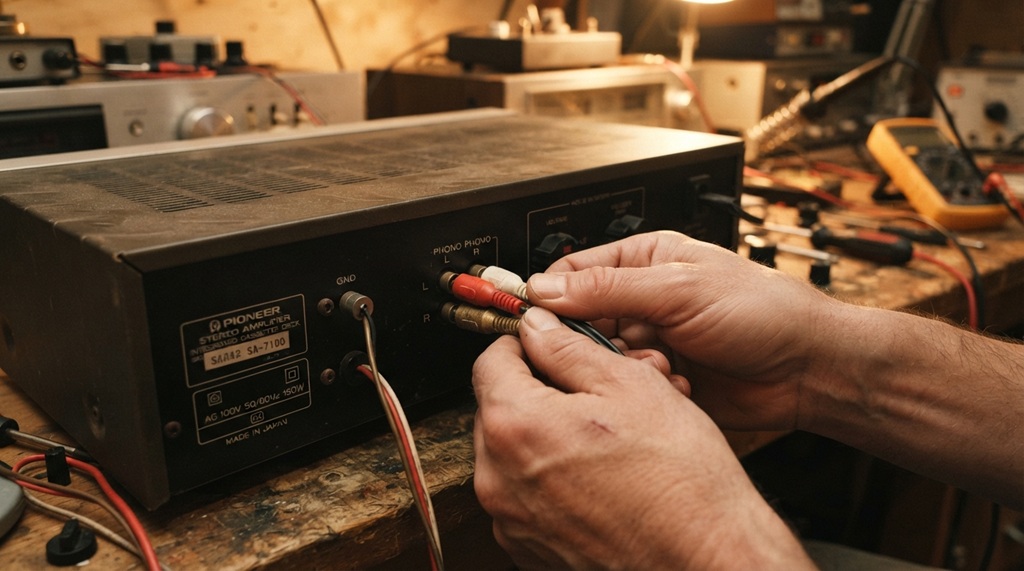
Older gear often uses connection types that modern speakers don’t support directly, so an adapter usually bridges the gap. RCA cables remain the most common analog connector on vintage equipment, and most modern amplifiers still include RCA inputs, which makes this pairing straightforward.
For gear with different outputs, here’s what typically works:
- RCA to 3.5mm adapter: connects older audio sources to modern computer speakers or portable speakers.
- RCA to Bluetooth transmitter: lets you stream sound from a vintage receiver to wireless speakers or headphones.
- Speaker wire to banana plug adapter: useful when older speaker terminals don’t match a newer amplifier’s inputs.
Test the connection at low volume first. Sudden bursts of sound can damage older speaker cones that have weakened with age.
Restore and Clean Cassette Decks Properly
A cassette deck needs a clean tape path before it can play reliably. Dust and old tape residue build up on the heads, rollers, and pinch wheel over time, and this buildup causes muffled sound or tape jams.
Follow these steps for a basic cleaning:
- Use isopropyl alcohol (90% or higher) on a cotton swab to clean the tape heads.
- Clean the pinch roller the same way, since a sticky roller causes speed issues.
- Demagnetize the heads every few months using a demagnetizing cassette, especially if you notice a slight hiss or distortion.
- Avoid playing old tapes right away. If a tape has been stored in heat or humidity, let it sit at room temperature for a few hours first.
Regular cleaning extends the life of both the deck and your tape collection.
Store and Maintain Your Retro Setup Long-Term
Proper storage prevents most of the damage that shortens a vintage device’s lifespan. Heat, humidity, and dust cause more long-term harm than actual use does.
Keep these conditions in mind:
- Store gear in a room with stable temperature and low humidity.
- Avoid direct sunlight, which can warp plastic components and fade finishes.
- Power on unused equipment every few weeks. This keeps capacitors and moving parts from seizing up.
- Cover turntables and open-reel decks when not in use to limit dust buildup.
According to industry experts, most electronics failures in stored vintage gear come from capacitor degradation rather than mechanical wear. Running the device occasionally, even briefly, helps prevent this.
A Setup Tip Most Guides Skip: Grounding Matters More Than You Think
Most setup guides focus on cables and levels, but grounding issues cause a huge share of the hum and buzz that collectors blame on “bad gear.” A loose or missing ground wire, especially on turntables, creates a low hum through your speakers that no amount of cable-swapping will fix.
Check for a small grounding wire near the RCA cables on your turntable. Attach it to the corresponding ground terminal on your receiver or amplifier. If your setup still hums after this, try plugging all components into the same power outlet or surge protector instead of separate outlets. Mixed grounding across different outlets is a common, overlooked cause of interference in home audio setups.
FAQ: Common Questions About Setting Up Retro Tech
How do I know if my vintage turntable’s cartridge needs replacing?
If the sound comes through distorted, quiet, or the stylus visibly wobbles, the cartridge likely needs replacing. Most styluses wear out after 500 to 1,000 hours of use. A worn cartridge also damages your records over time, so replace it as soon as you notice sound quality issues.
Can I use a Bluetooth speaker with an old cassette player or boombox?
Yes, through a Bluetooth transmitter connected to the headphone or auxiliary output. This lets you send the audio wirelessly to modern speakers. Just note that boomboxes without a line-out jack may need an adapter for a clean connection.
Why does my vintage receiver smell hot when I turn it on?
A hot or burning smell usually points to old dust burning off internal components, or a failing capacitor. If the smell continues after a few minutes, turn the unit off immediately. Have it checked by a technician before using it again, since this can indicate a real electrical issue.
Is it safe to plug 1970s or 1980s electronics directly into a modern outlet?
In most cases, yes, as long as the voltage matches your region and the cord is in good condition. However, using a surge protector adds a layer of safety against power spikes that older components aren’t built to handle.
How often should I clean my turntable’s stylus?
Clean the stylus every few play sessions using a soft, dry brush moved from back to front. Buildup on the stylus tip affects sound quality and can damage your records. Avoid using liquid cleaners unless they’re specifically made for stylus care.
Final Thoughts
Setting up retro tech gear and vintage audio players takes a bit more care than modern devices, but the process isn’t complicated once you know the basics. Inspect your equipment, match the right power and cable setup, and clean components regularly. These few habits keep vintage gear running for years, and often decades, without major repairs.
Whether you’re restoring a family turntable or building a full vintage audio setup from scratch, the key is patience. Take each step slowly, test at low volume, and your retro tech will reward you with sound that modern gear still struggles to match.

Leave a Reply