

Testing wireless earbuds for sound quality and fit takes less than 15 minutes. You need three things: a few reference songs, a mirror, and 10 minutes of quiet time. Skip the guesswork and run through the checks below instead.
Most people judge earbuds by how they sound the moment they open the box. That’s a mistake. Fit changes sound. A loose seal kills bass. A tight seal can distort mids. You need to test both together, not one after the other.
This guide walks you through a simple, repeatable process. You can use it in a store, right after an online order arrives, or to settle a debate between two pairs you already own.
Why Fit Affects Sound Quality More Than You Think
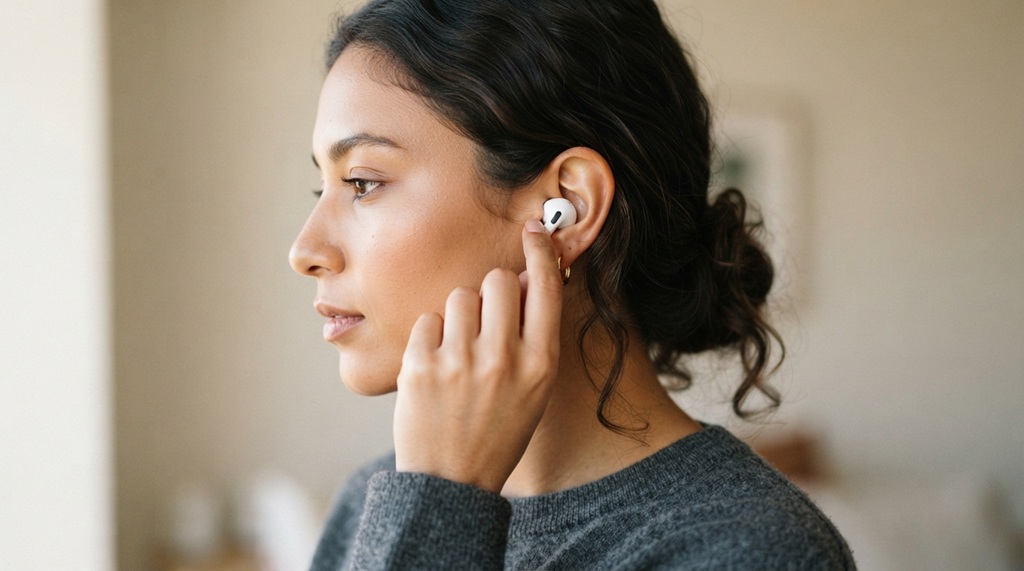
Fit isn’t just about comfort. It controls how much bass and clarity you actually hear. A poor seal lets sound leak out before it reaches your eardrum.
Earbuds work by creating a seal in your ear canal. That seal traps low-frequency sound waves so you can hear bass properly. Break the seal, even slightly, and bass drops off fast. This is why two people can wear the same earbuds and report totally different sound.
The Three Fit Problems to Watch For
- Loose seal: Bass sounds thin or missing entirely. You may also hear more outside noise than expected.
- Too tight: Discomfort builds within minutes. Some people also report a “plugged” or pressurized feeling.
- Wrong angle: Even with the right tip size, earbuds inserted at the wrong angle won’t seal properly. Small rotations often fix this.
Test the Physical Fit First
Check fit before you play a single song. Sound quality tests are pointless if the earbuds aren’t sealed correctly.
Insert the earbuds and gently tug on each one. They shouldn’t move or loosen. Next, do the jaw test: open your mouth wide, like a yawn, and check if the seal holds. Jaw movement is one of the most common reasons earbuds fall out during use.
Try the Tip-Size Swap
Most wireless earbuds ship with three tip sizes. Don’t assume the pre-installed size is right for you.
- Try the smallest tip first and check for a tight, sealed feeling.
- Try the largest tip and compare comfort levels.
- Pick whichever size seals fully without causing pain after five minutes.
A correct fit should feel snug but not painful. If you feel pressure building or pain within a few minutes, size down.
Run the Silence Test
With music paused, sit in a quiet room and listen. A properly sealed earbud will noticeably reduce outside noise, even without active noise cancellation turned on. If street noise or conversation still comes through clearly, your seal isn’t tight enough.
Test Sound Quality With the Right Reference Tracks
Random songs from your playlist won’t give you a fair test. Use tracks you know well and that cover different frequency ranges.
Pick one song with deep bass, one with vocals as the main focus, and one with wide instrumental range, like orchestral or live recordings. This gives you a full picture instead of judging earbuds on one genre alone.
What to Listen For in Each Frequency Range
- Bass: Should feel present but not muddy. You shouldn’t need to strain to hear the bassline.
- Mids: Vocals and guitars should sound clear, not buried behind other instruments.
- Highs: Cymbals and high notes should sound crisp, not harsh or scratchy.
If one range dominates and drowns out the others, the earbuds may have an unbalanced sound signature. That’s not always a flaw. Some listeners prefer bass-heavy tuning. But you should know what you’re getting before you buy.
Evaluating Real-World Fit and Acoustic Performance
A quiet room test only tells half the story, as true performance hinges on how your earbuds hold up during the movements of daily life whether you are commuting, walking, or exercising. To thoroughly evaluate them, wear your earbuds while moving around and notice if sudden head turns impact the sound signature or alter the seal. If you plan to use them during workouts, test their security with a few jumping jacks or a quick jog; a stable fit is essential, especially since audio dropouts or app lag can stem from an overburdened system, making it wise to speed up a slow smartphone in a few simple steps before launching intensive audio benchmark tracks.
Test Call Quality, Not Just Music
Sound quality testing shouldn’t stop at music. If you’ll use the earbuds for calls, this step matters just as much.
Record a short voice memo while wearing the earbuds in a slightly noisy environment, like near a fan or open window. Play it back. Clear, non-muffled audio is a good sign. If your voice sounds distant or robotic, the microphone quality may be weak.
Compare Sound With and Without EQ Adjustments
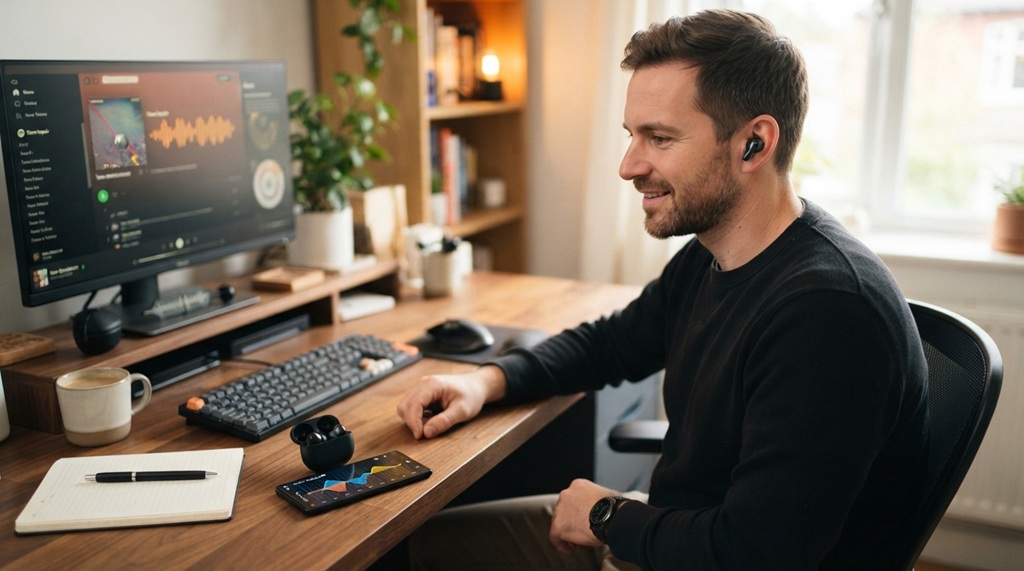
Most companion apps let you adjust equalizer settings, and this step gets skipped far too often. Default tuning isn’t always the best representation of what the earbuds can do.
Open the manufacturer’s app, if one exists, and check for an EQ or sound profile option. Test the default “flat” or “balanced” setting first, then try one or two presets. This shows you the earbuds’ full range, not just their out-of-the-box tuning.
One overlooked tip: many people test earbuds only in default mode and rule them out because bass or clarity feels off. But a two-minute EQ adjustment can fix that gap entirely, since the physical drivers are often capable of much more than the default settings show. Before writing off a pair, spend a few minutes in the EQ menu.
Check for Sound Leakage and Isolation
Sound leakage matters if you use earbuds in shared spaces like offices or trains. It also affects how private your audio stays.
Play a song at a moderate volume and have someone stand close to you. Ask if they can hear the audio. Leaky earbuds, often open-style designs, let more sound escape than sealed in-ear models.
Isolation works the opposite way: it’s how well the earbuds block outside noise from reaching you. Even without active noise cancellation, a snug physical seal provides passive isolation. Test this in a moderately noisy room, not silence, since that’s a more realistic daily setting.
Frequently Asked Questions
How long should I test wireless earbuds before deciding?
Give them at least two to three days of regular use before making a final call. Ears often need a short adjustment period to get used to a new fit, and initial impressions can change once that happens.
Can I test earbud sound quality without special equipment?
Yes. Your own ears and a few familiar reference songs are enough for a reliable at-home test. Special equipment helps for lab-level precision, but it isn’t necessary for everyday buying decisions.
Why do my earbuds sound different from my friend’s pair of the same model?
Ear canal shape and size vary a lot between people, and that changes how the seal forms. Two identical earbuds can sound noticeably different depending on fit alone.
Does a tighter fit always mean better sound?
Not always. A tight fit helps with bass and isolation, but if it’s too tight, it can cause discomfort and even distort how mids sound. The goal is a full seal without pain, not maximum tightness.
Should I trust in-store sound tests?
Treat them as a rough guide only. Store environments are often noisy, and demo units may have been used by many people. Always retest at home once you have your own pair.
Conclusion
Testing wireless earbuds properly comes down to four things: fit, frequency balance, real-world conditions, and a few minutes in the EQ settings. Skip any one of these, and you risk judging a pair too early, or missing out on a pair that just needed a small adjustment.
Run through these steps before your return window closes. A few extra minutes of testing can save you from settling for earbuds that don’t quite fit or sound the way you want.

Leave a Reply